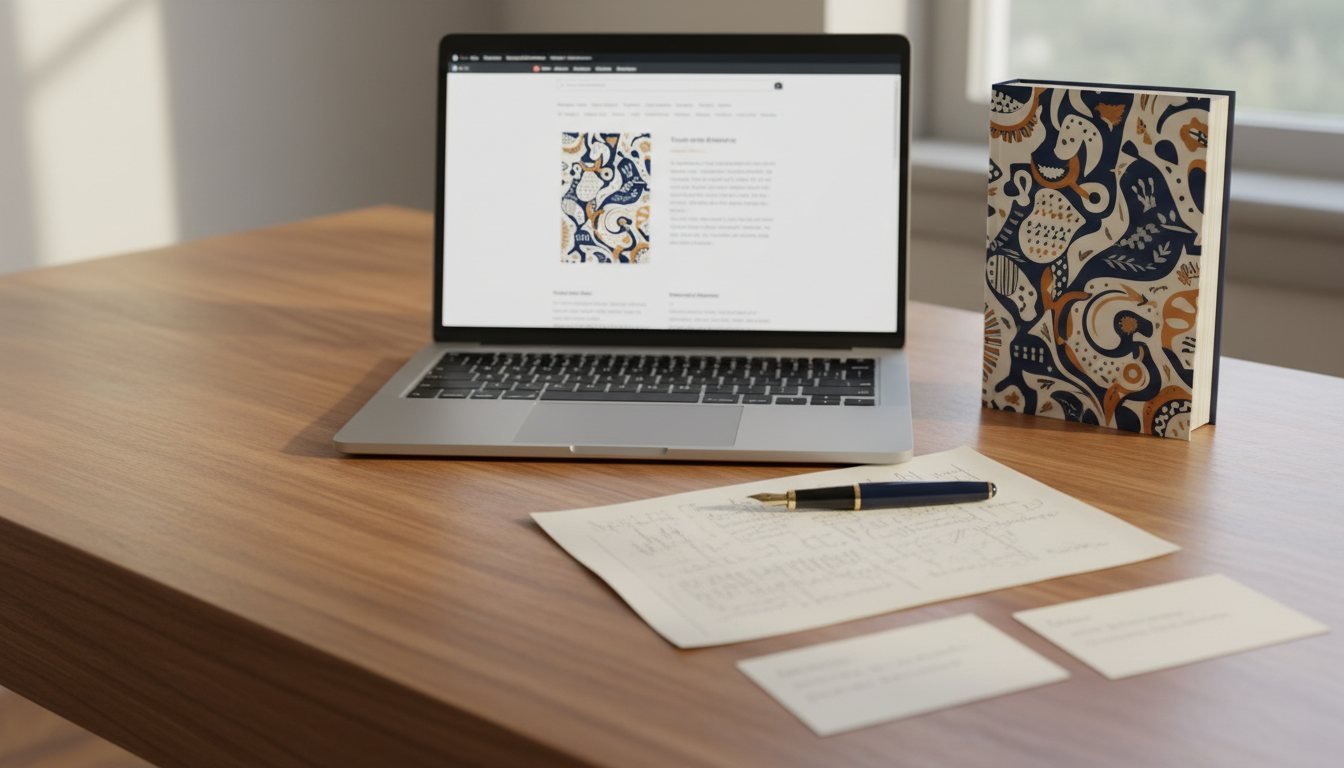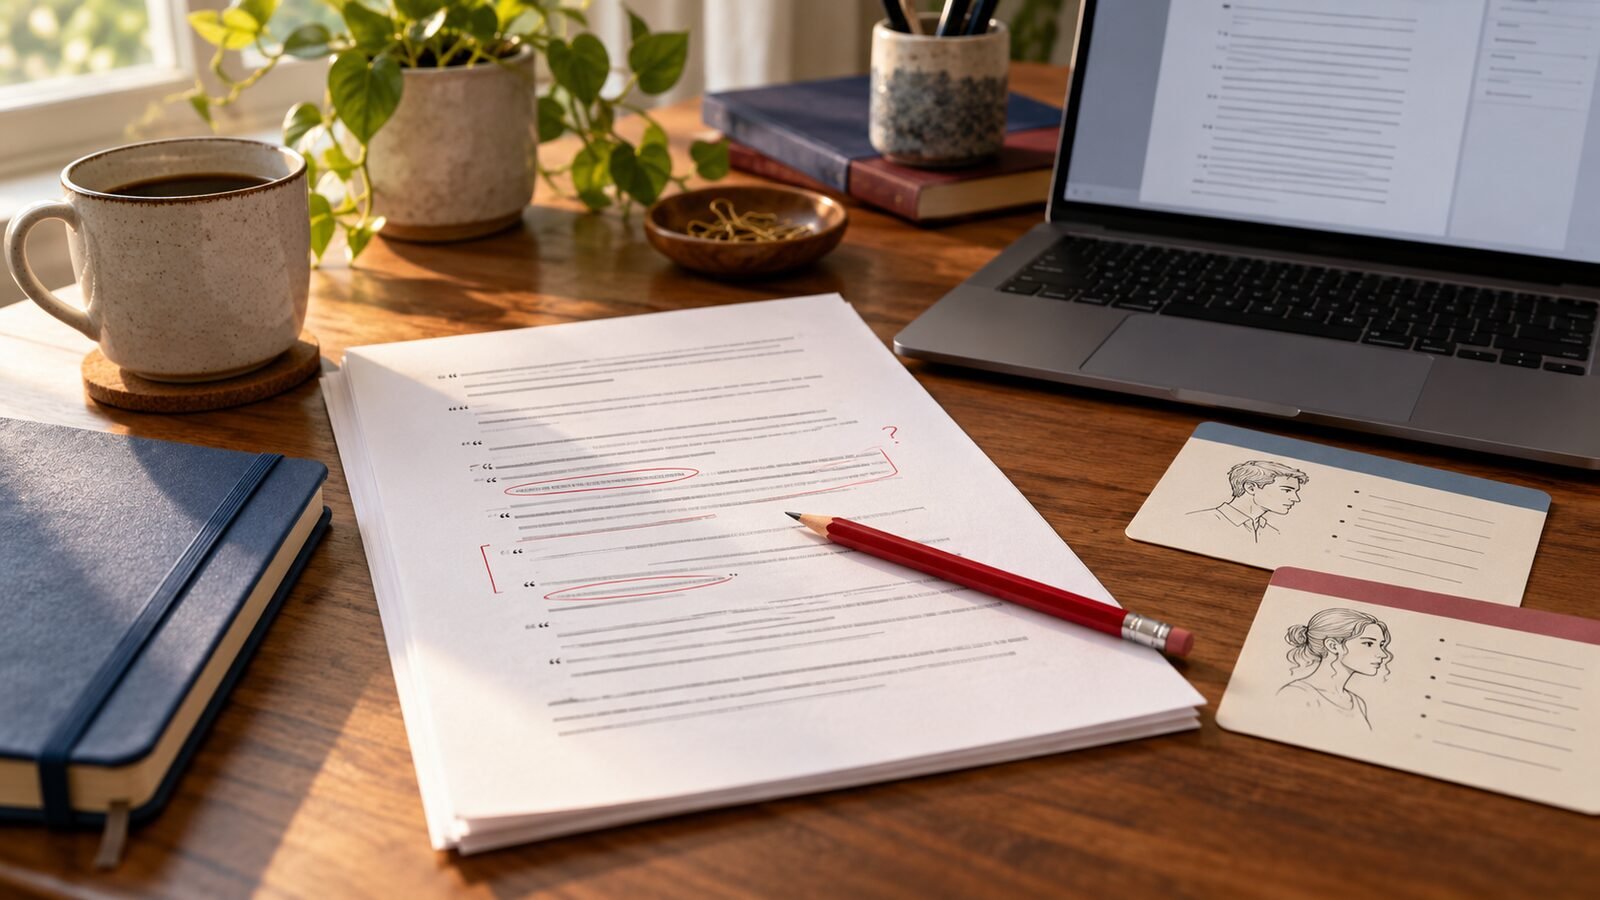
Trim size looks like a simple production setting, but it shapes almost every part of a print book. Change the width or height and you change the number of words on a page, the total page count, the spine width, the printing cost, and the way the book feels in a reader’s hands.
That is why trim size should be chosen before the interior is formatted and before the final cover is built. The best choice is not automatically the smallest, largest, or cheapest option. It is the size that suits the book’s content, audience, distribution plan, and budget.
Begin with the reading experience
Visit a bookstore or library and handle several recent books in your category. Note their dimensions, line length, type size, margins, paper, and weight. A compact novel, a business guide with charts, and a heavily illustrated children’s book have different physical needs.
Common trade-paperback sizes include 5 × 8, 5.5 × 8.5, and 6 × 9 inches. KDP lists all three among its supported paperback dimensions, while IngramSpark’s publishing guide identifies 5 × 8, 6 × 9, and 7 × 10 as popular trade sizes. Those are useful starting points, not genre rules. Compare actual books before deciding.
Understand what changes with trim size
A larger page can hold more text, which may reduce page count. A smaller page may create a thicker book from the same manuscript. Neither result is automatically better. A low page count can make a book feel slight, while an excessive count can raise the print cost and make the book harder to hold.
Run the manuscript through two or three reasonable trim sizes using the same typeface, type size, leading, and paragraph settings. Include the real front and back matter. Compare page count, line length, visual density, estimated printing cost, and likely list price. Do not squeeze the type or margins simply to hit a preferred count.
Choose paper and ink before finalizing pages
Paper and ink choices affect both appearance and production limits. Cream paper can create a softer reading surface for text-heavy books, while white paper is often better for illustrations, charts, photographs, and work that depends on crisp contrast. Color interiors cost more than black-and-white interiors, and even a small number of color pages may cause the entire interior to be priced as color on some platforms.
Available combinations vary by printer, trim size, binding, and page count. IngramSpark’s current trim-size guide shows different size ranges for white versus crème or groundwood paper and for paperback versus hardcover. KDP’s trim-size table likewise pairs sizes with ink, paper, and page-count limits. Check the platform you will actually use before committing the design.
Set margins from the final page count
The inside margin, often called the gutter, keeps text from disappearing into the binding. A thicker book needs more room at the spine. KDP’s current minimum gutter is 0.375 inch for books of 24–150 pages, 0.5 inch for 151–300 pages, and 0.625 inch for 301–500 pages, with larger minimums above 500 pages. Its minimum top, bottom, and outside margin is 0.25 inch without bleed or 0.375 inch with bleed.
Those values are production minimums, not design targets. A comfortable text page often needs more breathing room. Print several sample spreads at actual size, fold or bind them loosely, and read them as a reader would. Check whether the line length feels manageable and whether your thumb covers text near the outside edge.
Use bleed only where the design needs it
Bleed is extra artwork that extends beyond the trim line so an image or background reaches the finished edge after cutting. It is necessary for full-page photographs, colored page backgrounds, and illustrations intended to run off the page. A text-only novel with no edge-to-edge elements usually does not need interior bleed.
KDP requires cover artwork to extend 0.125 inch beyond the final trim on the outside edges. Lulu’s updated full-bleed instructions explain the same production principle: the extra area protects against thin white slivers caused by normal trimming movement. Keep important text, faces, borders, and other critical elements well inside the safety area rather than placing them on the trim line.
Build the cover after the interior is stable
A full paperback cover combines the back cover, spine, and front cover into one file. The spine width depends on the final page count, paper, and printer’s calculation. If the interior changes after the cover is built, the spine may no longer align correctly.
Finish the interior, confirm its page count, select the exact paper and binding, and then download a fresh cover template from the printer. KDP’s paperback submission guidelines require a continuous cover image and 0.125-inch bleed on the outside edges. Its cover guidance also notes that spine text is printed only on books above a minimum page count. Use the platform’s current template rather than reusing one from a similar project.
Compare the complete cost
Calculate more than the unit printing price. Compare the minimum list price, expected royalty, shipping weight, wholesale discount, and whether the format is practical for bookstores, libraries, and direct sales. Hardcover, color, larger trim, and higher page count generally increase production cost. A larger trim can sometimes reduce pages, but it may also change the look and handling of the book.
Use the printer’s calculator with your real specifications. Then order a physical proof. Review the type at reading distance, the darkness of the ink, paper opacity, page turns, gutter clearance, image reproduction, cover alignment, and spine. A screen preview can catch file errors; it cannot tell you how the finished book feels.
Use this decision order
- Study comparable books and define the intended reading experience.
- Shortlist two or three supported trim sizes.
- Choose black-and-white or color, paper, and binding.
- Format sample interiors and compare page counts and costs.
- Set final margins and bleed from the printer’s current specifications.
- Lock the interior, download a new cover template, and build the cover.
- Inspect a physical proof before approving publication.
A well-chosen trim size should feel almost invisible. It supports the words, images, price, and reader without calling attention to a production compromise. Make the physical decisions early, test them with real pages, and let the final proof—not guesswork—settle the details.